Start with your STL
Bring a shape from any 3D app. See your model, plaster mold, and parts to print in one workspace.
FROM DIGITAL SHAPE TO STUDIO SHELF
Turn a 3D model into parts you can print to make a plaster mold. Then cast your own clay pieces.
Free preview. No model or account needed to try the sample.
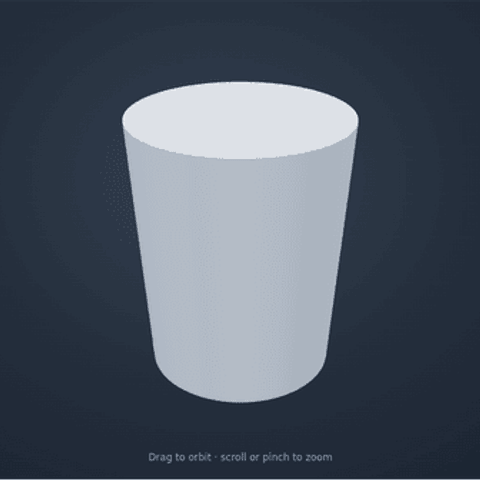
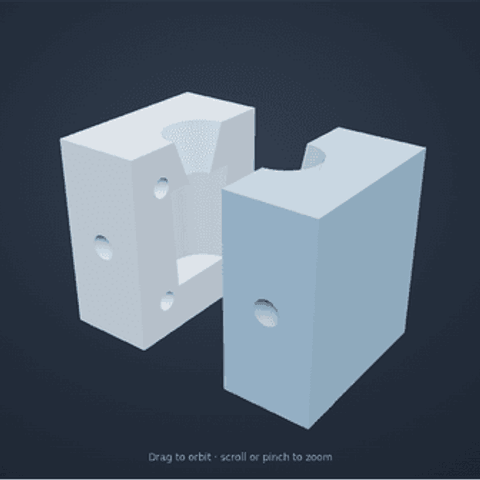
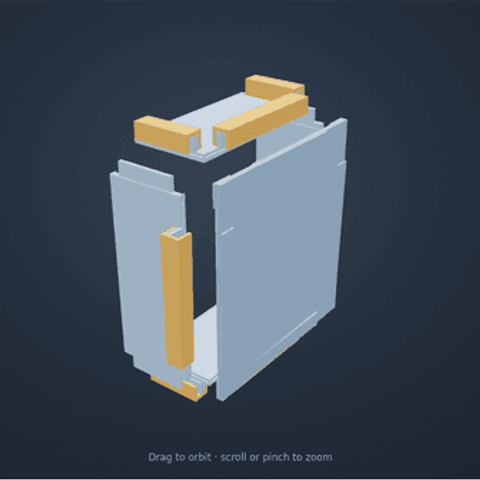
One sample tumbler. Three views from the workshop.
HOW IT WORKS
Four steps from a shape on your screen to a piece in your studio.
Upload an STL or try the sample tumbler.
Check the shape, choose a size, and see the parts.
Print the parts, assemble them, and pour plaster.
Remove the printed parts. Use your plaster mold to cast your piece.
MADE FOR THE WAY YOU MAKE
Bring a shape from any 3D app. See your model, plaster mold, and parts to print in one workspace.
Set your printer size and see how the printed parts fit together.
Plan a mold for one piece, several copies, or a stack of plates.
BRING YOUR NEXT IDEA